Imagine being unable to access your automobile because your key fob’s battery ran out. Changing the batteries in a Mercedes key fob can be annoying and perplexing for many automobile owners. It frequently entails poring over instruction manuals or watching convoluted online courses, wasting time and adding needless stress.
Introducing our comprehensive How-to manual for changing a Mercedes key fob’s battery. It’s hassle-free, quick, and simple! You can quickly change the batteries and avoid future lockouts and needless costs with the help of simple instructions and helpful pictures. With our easy tutorial, you can take charge of your car’s maintenance and change the batteries on your own with confidence.
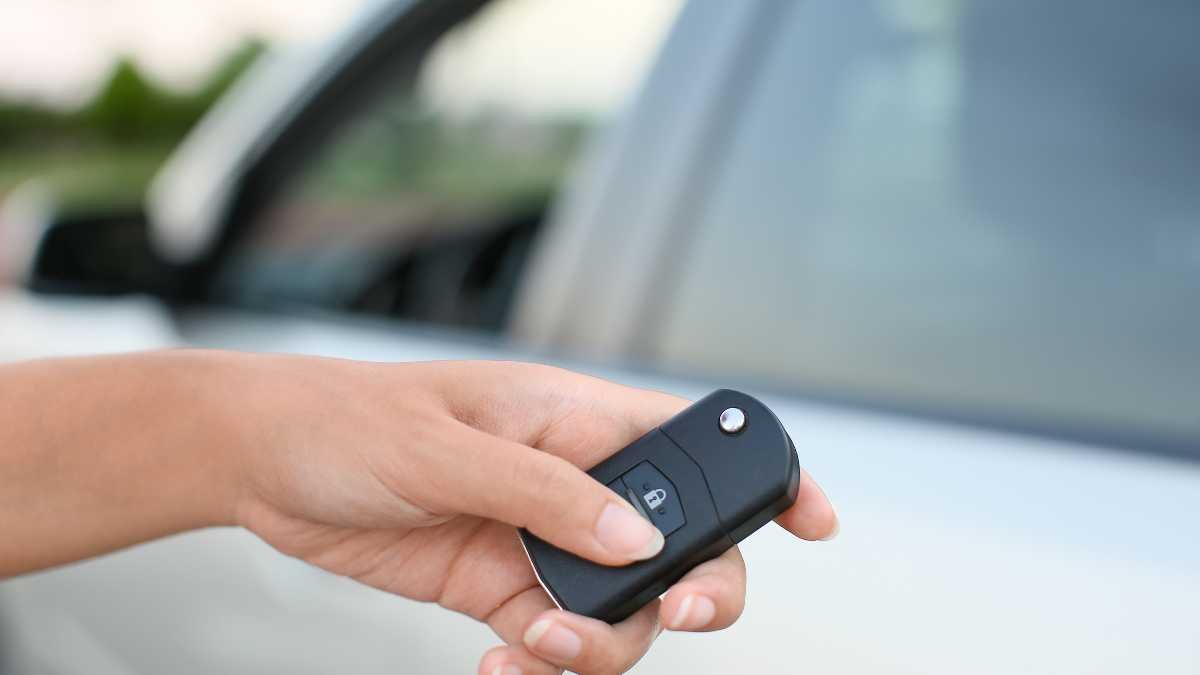
How to Change the Batteries in a Mercedes Key Fob
Imagine being unable to access your automobile because your key fob’s battery ran out. Changing the batteries in a Mercedes key fob can be annoying and perplexing for many automobile owners. It frequently entails poring over instruction manuals or watching convoluted online courses, wasting time and adding needless stress.
Introducing our comprehensive How-to manual for changing a Mercedes key fob’s battery. It’s hassle-free, quick, and simple! You can quickly change the batteries and avoid future lockouts and needless costs with the help of simple instructions and helpful pictures. With our easy tutorial, you can take charge of your car’s maintenance and change the batteries on your own with confidence.
Steps to Change the Batteries in a Mercedes Key Fob
One excellent example is the Mercedes key fob, which provides safe and easy access to your high-end car. But ultimately, the key fob’s power supply runs out just like any other electronic gadget, necessitating a battery replacement. Here are some steps to guide you in changing the batteries in a Mercedes Key Fob:
Step 1: Collect the Required Equipment and Supplies
Ensure you have all the tools and materials needed before starting the process of replacing the essential fob battery. To finish this work successfully, make sure you have the following available- a little screwdriver, either flathead or Phillips, depending on the type of key fob you have.
Replace batteries: Find the particular kind that is suggested for your Mercedes key fob. The handbook or the internet are typically good places to find this information for your car.
Step 2: Determine the Type of Key Fob
Mercedes is aware of how crucial it is for the key fobs to complement the refinement and style of their cars. They accommodate various models and years with their assortment of shapes and patterns. Mercedes ensures that every motorist can choose a crucial fob that meets their demands and adds more class to their driving experience, from the traditional rectangular key fob to the cutting-edge “smart key” fobs with practical keyless entry characteristics.
Understanding how to remove your key fob and selecting the appropriate replacement batteries depends heavily on knowing what kind of key fob you have. This knowledge will ensure that maintaining your crucial fob’s functionality is successful and goes smoothly.
Step 3: Open the Battery Compartment for the Key Fob
Check for the small slot on the side or bottom of your typical rectangular key fob. You can effortlessly and precisely split the two pieces using this straightforward method, guaranteeing a smooth process.
About the clever keychain:
- Locate the critical fob’s release button or switch on the back.
- To disclose the secret key slot or release the internal key, press or move the button/switch.
- To tell the hidden key slot or remove the inner key, press or push the button/switch.
- To open the key fob, carefully twist and put the little screwdriver into the seam.
Step 4: Take Out the Old Batteries
When you open the key fob’s internal compartment, you can see that the batteries are neatly placed on top of one another. Slide the old ones or carefully snap them out with a screwdriver to replace them. Observing the battery orientation when installing the new batteries is essential to ensure proper installation.
Step 5: Installing the New Batteries
Please ensure the batteries are firmly in place by gently pressing them in after alignment. You may provide the dependable and effective operation of your key fob by following these directions to the letter.
Step 6: Put the key fob back together
It is crucial to take great care when reassembling the critical fob. Precisely align the two halves, then gently squeeze until they snap shut. Make sure there are no gaps or misalignments by paying great care. Before attempting again, confirm where the batteries are located if you encounter any resistance. Before reassembling an intelligent key fob’s outer shell, ensure the internal key is correctly inserted or retracted.
Step 7: Do a Key Fob Test
It’s important to perform a quick functioning test on your key fob before using it once more to make sure it functions well. By completing this crucial step, you may rest easy knowing that your key fob is in perfect operating order and will function as intended when required. Test any functions your crucial fob could have, such as opening the trunk or setting off a panic alert. The battery replacement succeeded if the essential fob functions as it should.
When should you change the battery in a Mercedes key fob?
Replacing the battery in your Mercedes-Benz key fob may be necessary if you observe any of these warning indicators while operating a vehicle. The following are examples of early warning signs:
- It gets more challenging to start your car. If it takes a few minutes or requires several tries, a low battery may be the cause.
- You can no longer set off the panic alarm or lock and unlock your doors.
- On your dashboard, you see a warning light suggesting a problem with the charging system. This could indicate that the key fob’s battery is running low.
In summary:
To guarantee a seamless and effortless driving experience, ensure your Mercedes key fob operates flawlessly. With these simple steps, you’ll be confident in changing the batteries in your key fob. You may be convinced that there won’t be any problems with consistently getting into your opulent car.
You can ensure your Mercedes key fob operates at its best and has a trouble-free experience by regularly checking and changing the batteries as needed. Taking this proactive strategy lets you stay ahead of any unanticipated annoyances and always benefit from smooth functionality.


